When it comes to the aesthetic appeal of wooden surfaces, green molds aren’t exactly part of the desired look. Whether it’s your antique furniture, cherished hardwood floors, or beloved wooden countertops, the presence of mold can be both unsightly and concerning.
Molds may look like harmless greens, but they are unsafe. Unlike leaves and other plants, molds are a potential hazard that needs to be addressed promptly and effectively.
It is better to spend a little more on cleaning materials than to say goodbye to your favorite wooden surface. If you are looking for a solution to this problem, you’ve come to the right place. Continue reading if you want to know how to remove molds on wood.
Molds on Surfaces
What is a mold? Mold is a type of fungus that thrives in moist and humid environments like areas with poor ventilation or water damage. These are also what makes wooden surfaces susceptible to mold growth. While mold can occur on any type of wood, it’s particularly common on porous or untreated surfaces where moisture can easily penetrate.
Bare wood, in particular, stands as an inviting target for mold growth due to its porous nature. Newly harvested wood, with its high sugar content, presents an especially favorable environment for mold colonization. Moreover, the propensity of bare wood to absorb moisture further compounds the problem, providing the ideal conditions for mold to thrive. However, there are proactive measures homeowners can take to protect their wood from such fungal infestations.
Preventive Measures
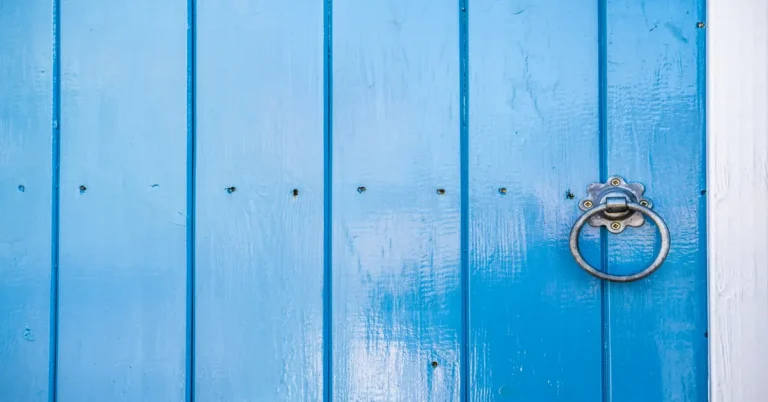
An ounce of prevention is worth a pound of cure. Applying a high-quality sealant to outdoor wood furniture and other wooden features serves as the first line of defense against these troublesome green intruders.
A well-applied sealant acts as a barrier, effectively shielding the wood from moisture, mold, mildew, and even UV damage. Once the sealant dries, it forms an impermeable barrier, preventing moisture from penetrating the wood. Furthermore, it prohibits mold growth.
Checking the Surface
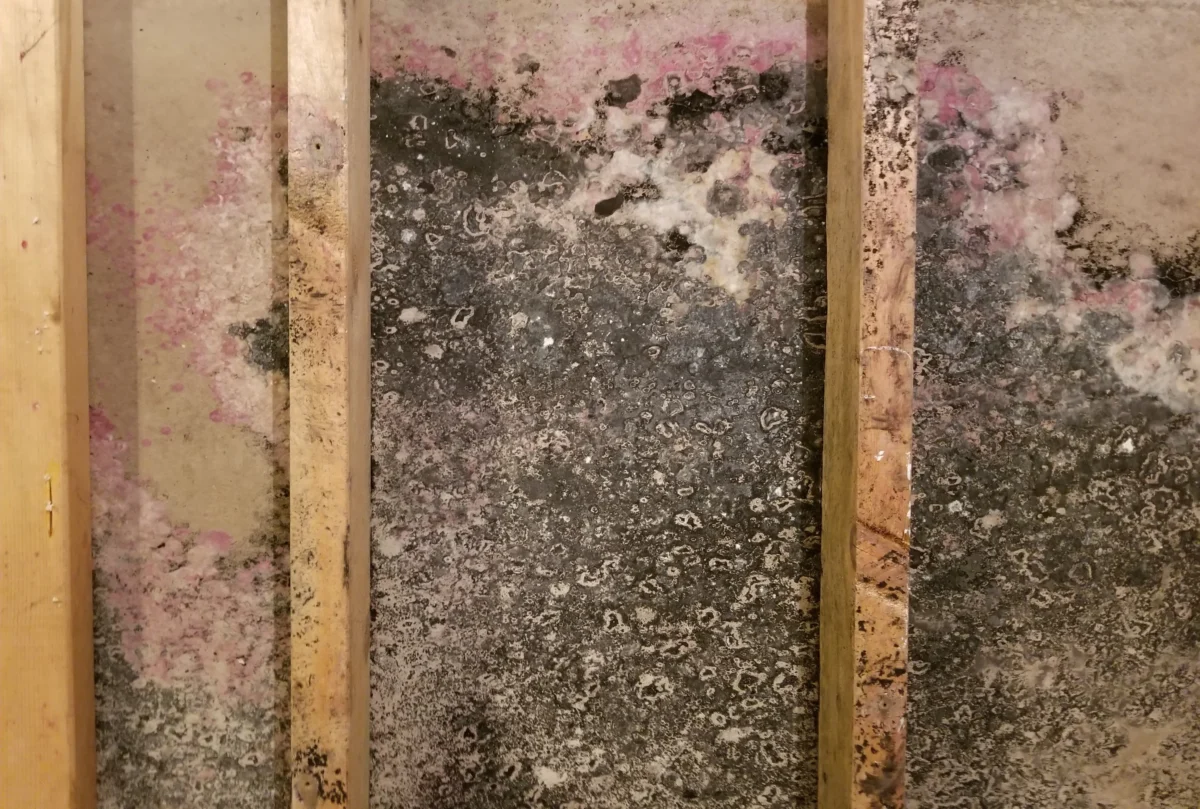
Spotting mold on wooden surfaces may not always be straightforward, as it can vary in appearance depending on the type of mold and the condition of the wood. However, there are some common signs to watch out for, including:
- Odor: A musty or earthy smell may indicate the presence of mold, even if it’s not visible.
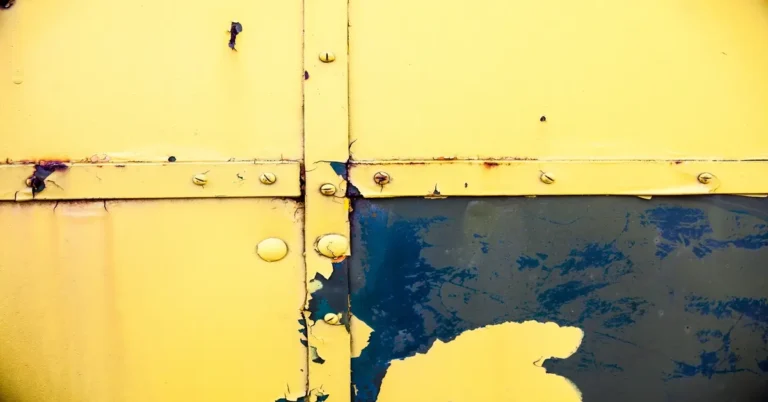
- Discoloration: Mold may appear as dark, discolored, slimy patches on the surface of the wood.
- Texture: Mold often has a fuzzy, powdery, velvety, or slimy texture.
- Deterioration: Mold can cause wood to deteriorate, leading to soft spots, warping, or crumbling.
Removing the Molds
Once you’ve identified mold on your wooden surfaces, it’s crucial to take immediate action to remove it and prevent it from spreading further. Here’s how you can effectively deal with this issue:
- Start by ventilating the area to reduce moisture levels, as mold thrives in damp environments. Open windows and doors, use fans, or even a dehumidifier to improve airflow and dry out the affected area.
- Next, prepare a cleaning solution using mild detergent or soap mixed with water. Avoid using bleach or harsh chemicals, as they can damage the wood’s finish and potentially worsen the mold problem.
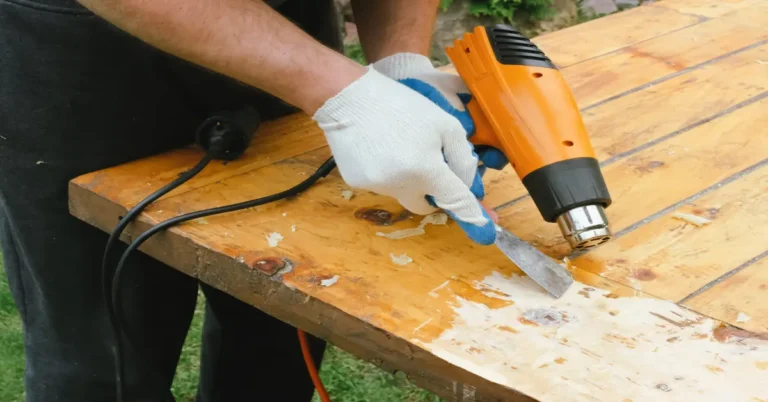
Try using bleach to remove the molds. However, if you want your wooden surface to be protected from molds you can paint it with Island ColorQuick. It is a Quick-Drying Enamel is an alkyd-based coating especially formulated to provide good gloss, and excellent adhesion over wood and metal surfaces.
- Gently scrub the moldy areas with a soft-bristled brush or sponge. Work in circular motions to lift off the mold from the surface of the wood. Be thorough but careful not to scrub too aggressively, as you don’t want to damage the wood.
Once you’ve removed the mold, rinse the area thoroughly with clean water and wipe it dry with a clean cloth. Again, ensure proper ventilation to aid in the drying process and prevent moisture buildup.
- As mentioned in the prevention process, putting sealants can help wooden surfaces last longer. After cleaning, consider re-applying a wood sealer or finish to the surface to provide an extra layer of protection against future mold growth. For better results, be sure to choose a product specifically designed for wooden surfaces and follow manufacturer’s instructions for application.
Remember, when it comes to molds, time is your enemy. So make sure to act decisively as a swift action is the key to help prevent further spread and potential health risks. It is also essential to pick the right tools and tackle the issue promptly with the right solutions. Waiting can worsen the problem, leading to more extensive damage and difficulties in remediation.
By taking immediate steps and selecting the appropriate tools for mold removal, you can address your mold problems and restore a clean and healthy environment.
When it comes to removing molds from wood, only the finest products will suffice. For an effective solution, check out Island Premium Paint’s website. Renowned for their top-tier offerings, Island Paint provides a comprehensive selection of products tailored to combat molds effectively.
Don’t settle for anything less when it comes to mold removal; start by exploring Island Paint’s website to discover the perfect solution for your needs.
References:
https://tiic-chem.com.ph/products/cleaning-agent/flying-tiger-alcohol/