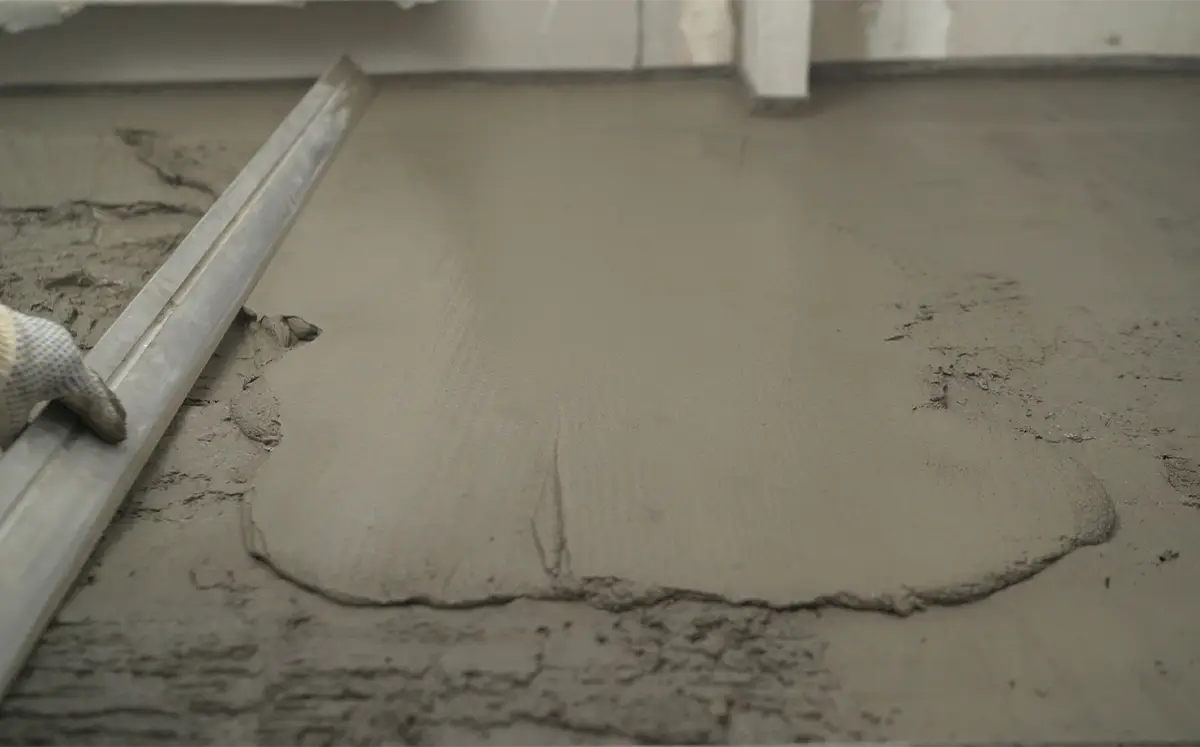
Mention the word “cement,” and the image of a road will probably come to mind. You may also associate this word with a big cement mixer you spot while you’re on the road.
However, are you aware that there are some materials with the word “cement” in them that can act as adhesives for certain products? You read that right, and this is where materials like contact cement and rubber cement come into play. Both of these products have certain properties that make them useful for home improvement projects and even for big construction plans.
Learn the difference between contact cement versus rubber cement, what these are used for, and other safety tips related to these substances.
Is Contact Cement the Same as Rubber Cement?
To put it simply, no. While both of these products are adhesives, they are not made of the same materials and are utilized on different types of surfaces. Here’s a guide to these two types of adhesives:
- Contact cement: Also called contact adhesive, contact cement is a type of neoprene rubber adhesive. This type of substance may be very useful if you’re working with nonporous materials that cannot be easily glued together. In fact, contact cement is said to work best on surfaces such as plastic, veneers, rubber, glass, metal, and leather.
Contact cement may be used to stick together large surfaces like countertops or even floor tiles since it does not need to undergo clamping.
If you need to use it for your project, you will need to combine it with a solvent first before applying the mixture to the surfaces you’ll work with. You will also need to wait for a certain amount of time so the adhesive air-dries and the solvent evaporates completely.
You can stick the surfaces together once the contact cement has fully dried.
Following these steps allows contact cement to effectively bond to surfaces without any additional moisture. - Rubber cement: This adhesive is made with unvulcanized gum or rubber and a solvent. As its name suggests, rubber cement is ideal for sticking two pieces of rubber together via a chemical cohesion process. However, rubber cement can also be used as an adhesive for materials like rubber, paper, and leather.
If you plan to use rubber cement, you can apply this material to one or both of the surfaces you will be working with. Once the adhesive dries, it becomes a stretchy and rubbery material that can be easily removed from surfaces.
Are There Advantages and Disadvantages Related to These Adhesives?
Now that you’re aware of the differences between these two adhesives, you may be wondering which of them should be used for your projects. Here’s a rundown of how these adhesives apply to surfaces so you can have a better understanding of how they work:
- Contact cement: According to industry experts, using contact cement can be tricky since you can achieve a permanent bond between two surfaces even with just momentary contact.
After applying contact cement to surfaces, you will need the adhesive to fully dry according to package instructions before moving on to the bonding process. This step should be done within 30 minutes to an hour after the adhesive has fully dried.
You will need to be very precise and accurate when handling and sticking surfaces that have contact cement on them. The strength and permanence of the adhesive once it’s dried on the surface/s makes repositioning difficult to nearly impossible. If you make a mistake, it’s possible that you will need to separate the surfaces by damaging one or both of them. - Rubber cement: Like with contact cement, you can apply rubber cement to one or both of the surfaces you will be working with and wait for the adhesive to dry before fully “joining” them together in a process called “dry mounting.” Just take note that once the surfaces are glued together, the bond is so strong that the surfaces cannot be adjusted easily.
However, another advantage of using rubber cement is that you can still stick the surfaces together even if the adhesive is still wet, in a process called “wet mounting.” Should you choose this technique, you’ll need to hold the surfaces together until the adhesive sets. Just bear in mind, though, that the adhesion between these surfaces may not be as strong compared to that of dry bonding.
Ultimately, what sets rubber cement apart from contact cement is its ease of cleanup. If you apply or use too much glue and it “runs” outside the surface you are working with, you can clean it up easily. You will just need to let it dry first, then use your finger to rub across the dried adhesive until it releases its hold on the surface. You can then grab the dried glue with your finger and throw it away.
While you can benefit from using rubber cement as an adhesive for your next project, remember that some adhesives work better on certain surfaces. Aside from accurately identifying the surface/s you will be working, ask an industry expert whether you should use contact cement, rubber cement, or another type of adhesive altogether for your next project.
Need Rubber Cement? Count on This Product
If you’re ready to use rubber cement to your advantage, go for Island Chemicals Apollo Rubber Cement (Toluene-Free), a synthetic and rubber-based adhesive.
Island Chemicals Apollo Rubber Cement (Toluene-Free) can be helpful if you are working with wooden or leather surfaces. It allows the former to adhere to leather, and the latter to stick to fabric and rubber, among many other materials.
This adhesive may also help bond wooden furniture like doors, cabinets, and other furniture, and repair household items and/or things made of wood, rubber, and leather. With careful supervision, rubber cement may also be utilized for various projects, whether these are for arts and crafts, for school, or for “Do-It-Yourself” (DIY) tasks.
How to Apply Rubber Cement Effectively
If you are going to use rubber cement, handle it in a well-ventilated area. Refrain from using it near a flame since rubber cement is a highly flammable substance. Don’t forget to wear personal protective gear like gloves, masks, and goggles as well. To apply rubber cement, take note of the following steps:
- Clean the surfaces you will be working on.
- Use a brush to apply two coats of Island Chemicals Apollo Rubber Cement (Toluene Free) on each surface. You can apply a third layer of the adhesive if you are working with porous surfaces.
- Let the surfaces dry for 15 to 20 minutes before sticking them together. Add another 15 to 20 minutes to the drying time if the surfaces are porous before joining them together. Just be mindful of any excess product that overflows from the sides of the surfaces when they are pressed together. If you notice these, wait for the excess product to dry before cleaning it up.
- Use a hammer to make the joint firmer if you are working with strong materials.
If you notice excess adhesive and want to discard it, make sure it dries first. Cleaning wet adhesives can cause a mess. Once you are satisfied with your surfaces and don’t need to use the rubber cement anymore, tightly seal the container and store it in an area that will not exceed temperatures of 35⁰ degrees Celsius.
When disposing the adhesive, do so according to government regulations. Avoid disposing of it together with household garbage and see to it that it does not reach sewage systems.
Know more about the benefits of using rubber cement as well as other valuable adhesives that you can add to your toolbox for many purposes. With Island Chemicals, you can! Head over to the website today and browse through a selection of articles that’ll help you repair and refurbish your home.
References:
https://www.concretenetwork.com/cement.html
https://www.cement.org/cement-concrete/how-cement-is-made
https://www.cement.org/cement-concrete
https://concreteflooringsolutions.co.uk/blog/what-is-cement-made-of
https://theconstructor.org/concrete/types-cement-applications/5974
https://home.howstuffworks.com/uses-for-contact-cement.htm
https://www.encyclopedia.com/manufacturing/news-wires-white-papers-and-books/rubber-cement
https://www.hunker.com/13415257/how-to-use-rubber-cement
https://www.ehow.com/list_7268413_uses-limitations-rubber-cement.html


