Coating painted wooden surfaces can be a hit or miss. Will it turn out flawlessly or will it end up being a letdown? No need to leave it to chance! With this comprehensive guide, you can expect consistent, impeccable results all the time.
From preparation to application, we’ve got you covered. Here is a step-by-step approach that leaves no room for mistakes. Say goodbye to those pesky brush strokes, uneven coverage, and unsightly drips. We’ll walk you through the preparation process, help you select the perfect coating materials, and reveal the techniques to ensure a smooth and professional finish.
No more second-guessing or relying on trial and error. We’ll also provide you with insider tips that guarantee a foolproof coating process. Whether you’re a seasoned DIY enthusiast or a novice trying to finish your first project, this guide is your ticket to achieving flawlessness and transforming your painted wooden surfaces into stunning masterpieces.
What is Clear Coat Paint?
Are you tempted to skip the coating step on your painted wood projects? Think twice before making that costly mistake!
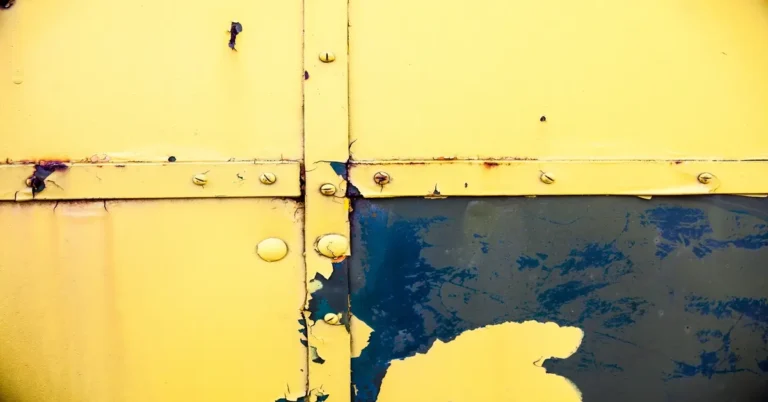
Coating is not just an optional extra—it’s an absolute necessity. Not properly coating the surface of your wood projects can leave them vulnerable to the elements or other forces of nature. With proper coating, you can avoid cracking, peeling, and irreversible damage! Aside from safeguarding the wood from various external factors, here are other reasons why coating wooden surfaces is essential:
Provides Protection Against Wear and Tear
Wooden surfaces, whether furniture or other structures, are subject to daily use and exposure to elements like moisture, sunlight, and temperature changes. Coatings act as a barrier that prevents water damage, fading, warping, and other forms of wear and tear.
Extra Protection
Coatings add an extra layer of strength to the wood, making it more resistant to scratches, stains, and impacts. By providing a robust protective barrier, coatings extend the lifespan of wooden surfaces.
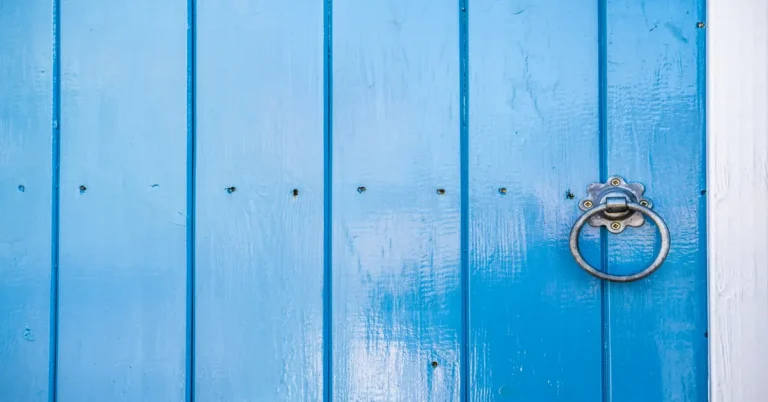
Adds Aesthetic Appeal
Coatings enhance the appearance of wooden surfaces by enriching the color, highlighting grain patterns, and adding depth and luster. It allows you to achieve the desired aesthetic appeal. You can choose from a glossy, matte, or satin finish.
Offers Resistance to Environmental Factors
Wood is susceptible to environmental factors such as UV radiation, humidity, and pests. Coatings with UV inhibitors protect against sun damage, while moisture-resistant coatings prevent swelling, warping, and decay. Additionally, some coats also protect against insects and fungal growth.
Easy to Maintain
Coated wooden surfaces are easier to clean and maintain. The protective layer prevents dirt, dust, and grime from penetrating the wood, making it simpler to wipe clean and keeping it looking fresh and vibrant.
Prepare All the Materials Needed
When preparing to coat a painted wooden surface, it’s essential to gather the necessary materials beforehand. Here’s a list of materials you’ll need:
Cleaning supplies:
- Mild detergent or wood cleaner: Used to clean the painted wood surface and remove dirt, dust, and grease.
- Clean rags or soft cloths: These are useful for wiping down the surface after cleaning.
Sanding tools:
- Sandpaper or sanding block: Choose a fine-grit sandpaper (such as 120 to 220 grit) to smooth out any rough areas, imperfections, or bumps on the painted surface. A sanding block can provide better control and even pressure during sanding.
Safety equipment:
- Safety goggles: Protect your eyes from dust, debris, and any potential splatters during the sanding and cleaning process.
- Dust mask or respirator: Wear a mask to prevent inhalation of dust particles while sanding and cleaning.
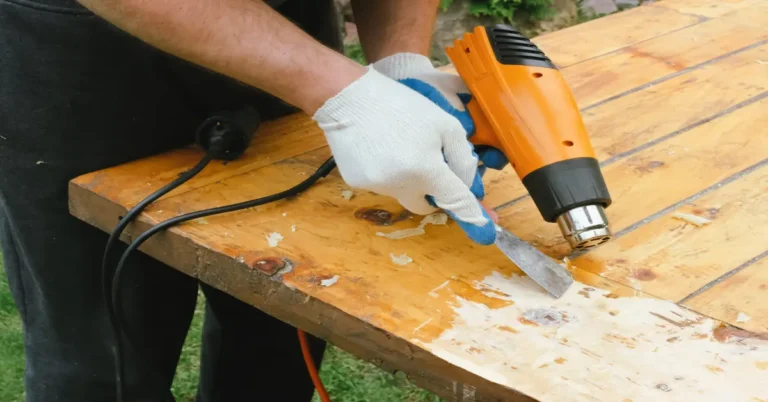
Paint scraper or putty knife (Optional):
- These tools can be handy for removing any loose or peeling paint from the wooden surface, ensuring a stable base for the new coating.
Coat Your Wood Surface with Confidence!
Now that you have gathered all the necessary materials, it’s time to dive into the exciting part. Here’s a step-by-step guide to what you should do next.
Step 1: Prepare the Surface
- Start by ensuring that the wooden furniture surface is clean and free from dust, dirt, and grease. Wipe it down with a mild detergent solution or wood cleaner, and let it dry completely.
- If there are any rough areas or imperfections on the surface, gently sand them down using fine-grit sandpaper. This step helps create a smooth surface for the coating to cling to.
Step 2: Choose the Right Coating
- Select a suitable coating based on your preferences and the type of wood furniture you have. Options include polyurethane, varnish, lacquer, or paint. Consider factors like durability, sheen, and the level of protection you desire for your furniture.
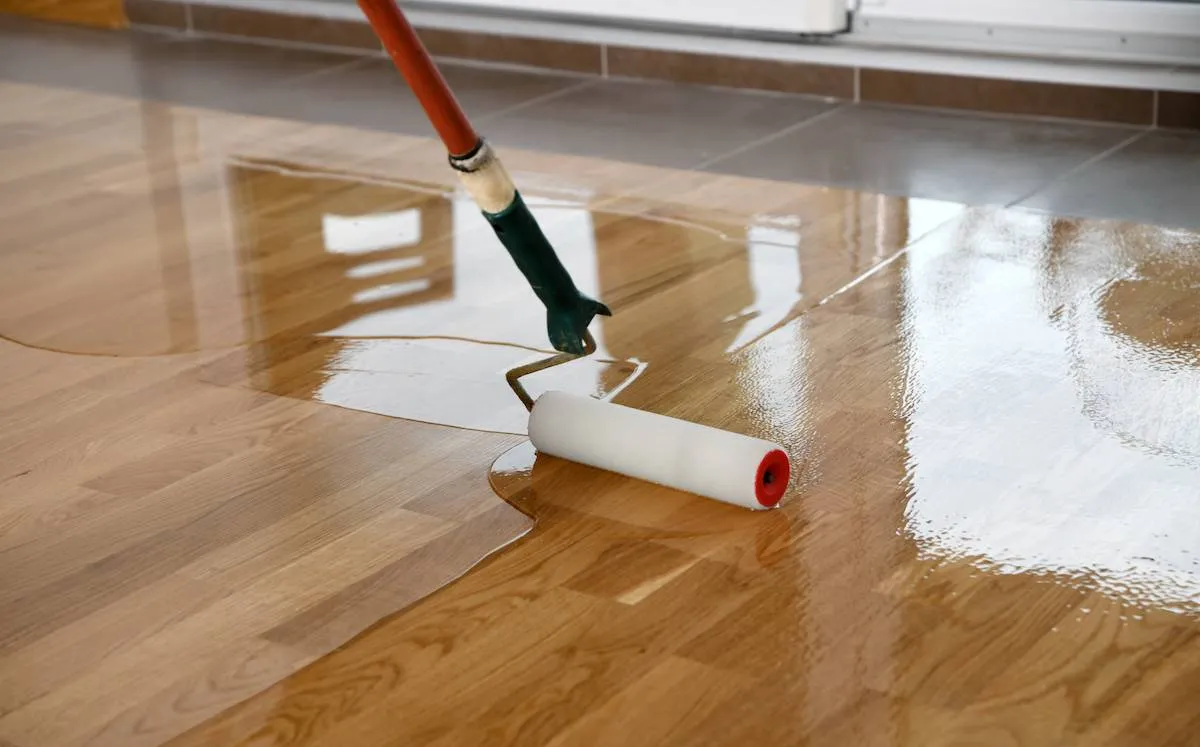
Step 3: Apply the Coating
- Follow the brand’s instructions for the specific coating product you’ve chosen. This includes information on application tools, recommended drying times, and any necessary precautions.
- Use a brush, roller, or sprayer to apply the coating evenly onto the wooden furniture surface. Work in small sections, following the natural grain of the wood.
- Apply multiple thin coats rather than a single thick coat, allowing each coat to dry completely before applying the next.
Step 4: Sand between Coats (Optional)
- If desired, you can lightly sand the surface between each coat using the fine-grit sandpaper you used earlier. This helps create a smoother finish and promotes better adhesion between the coats.
Step 5: Allow for Proper Drying and Curing
- Keep your hands off your project. Follow the manufacturer’s instructions for drying and curing times. It’s essential to allow the coating to dry thoroughly before using or moving the furniture.
- Avoid closed spaces when working with any types of coating. Provide adequate ventilation in the drying area to facilitate proper curing and prevent the buildup of fumes.
Step 6: Final Touches
- Once the coating has fully dried and cured, inspect the furniture for any imperfections or unevenness. If necessary, lightly resand those areas and apply an additional coat for a flawless finish.
- Consider adding extra protective measures, such as furniture wax or felt pads for the bottom of the furniture, to prevent scratching on floors.
Remember to read and follow the instructions provided with your chosen coating product for the best results.
Reliable Wood Coating
When it comes to coating your wood surfaces, settling for anything less than the best is simply not an option. Try Island Paint’s Natural Oil Wood Stain. It is made from finely ground pigmented stains dissolved in an oil-based medium to enhance the colors of raw or unfinished wood. When applied and clear coated, it highlights the natural grains of the wood effect.
This exceptional product offers impressive coverage of 50-60 square meters per 4 liters, depending on the wood’s porosity. Island Paint’s Stain is conveniently available in two packaging options: 1 liter and 4 liters, both presented in lithographed round cans.
Don’t miss out on this opportunity to expand your knowledge on painting. If you’re seeking expert advice, insightful tips, or in-depth information about wood paint, Island Paints’ website has it all.
References:
https://www.ehow.com/how_6589563_paint-vinyl_coated-wood-furniture.html
https://www.thespruce.com/how-to-seal-painted-wood-for-the-outdoors-5214910