Wooden furniture and handicrafts are present in a lot of Filipino homes because of the aesthetic they provide and the abundance of wood in the country. However, extreme temperatures and fluctuating weather patterns can take a toll on these products, affecting their appearance and integrity.
This is why industry experts have frequently recommended applying sanding sealer on wood during the production or the restoration process to improve and enhance this material’s durability and quality.
Don’t let your beloved wooden furniture become affected by the wear and tear of time! Learn how a sanding sealer for wood works and some coverage tips you can try.
Benefits of Using a Wood Sanding Sealer Before Painting
As its name implies, a sanding sealer aims to “fill in” pores, gaps, or cracks in the wood and assists in improving the wood’s natural grain and color. This way, the wood looks warmer and richer even before paints or stains are applied on it.
Ultimately, a sanding sealer helps the wood have a smooth, even, and consistent finish. By doing so, it allows the paints to evenly spread out and cover the surface instead of soaking into the surface.
Sanding sealer may also help seal wood knots, flatten raised wood grain, and coat bare hardwood floors prior to oil or polyurethane application.
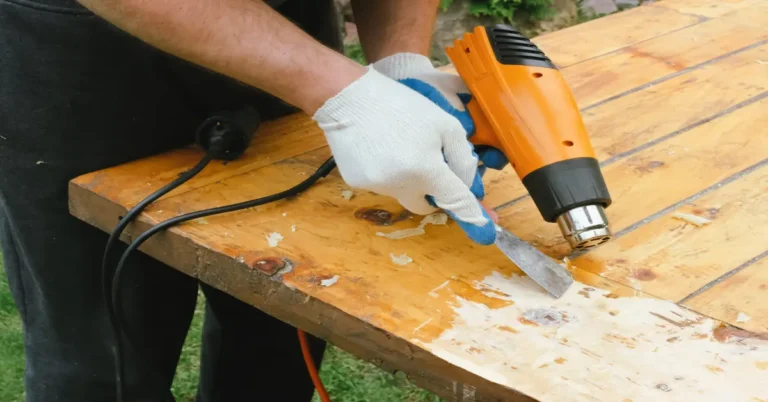
When Should You Apply a Sanding Sealer?
If you plan to use sanding sealer for wood projects, answer the question mentioned above by following these steps:
- Wipe the wooden surface and clean dust, dirt, or debris that might be on it.
- Thoroughly sand the surface.
- If there are holes in the wood, use a wood filler like Island Paints Natura Wood Filler to cover them up.
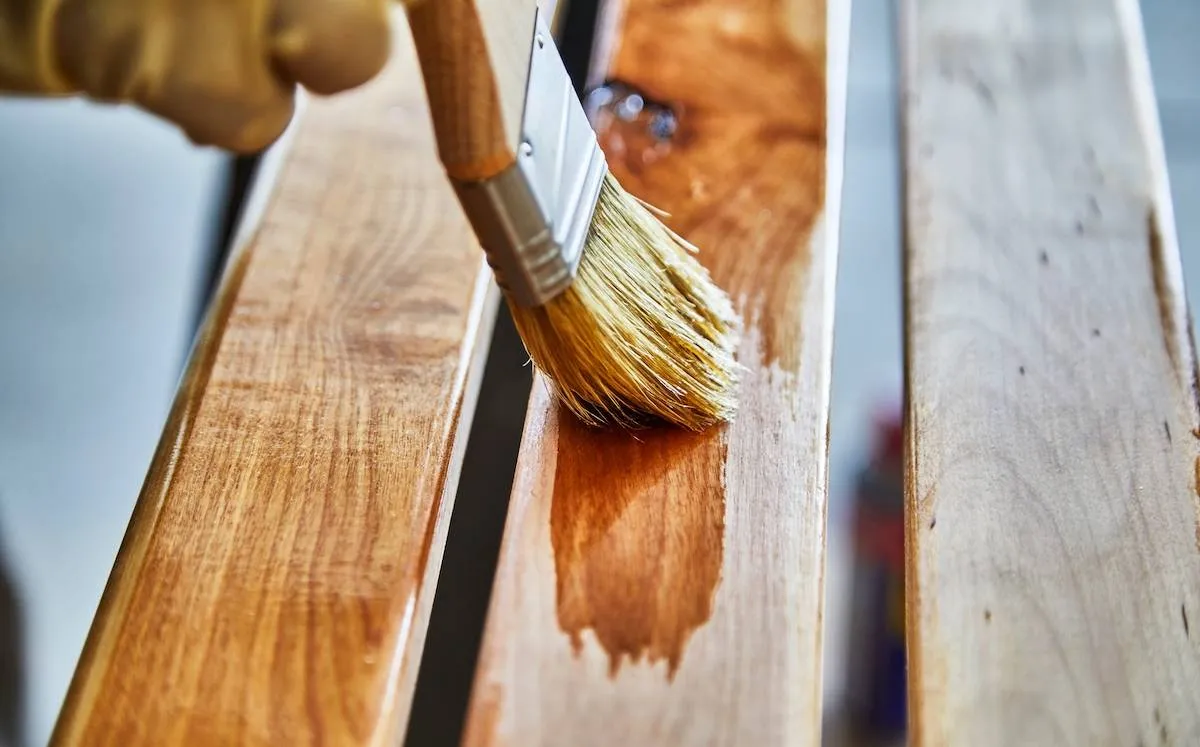
- Brush a thin layer of sanding sealer such as Island Chemicals Apollo Sanding Sealer or Island Chemicals Five Star Sanding Sealer onto the surface.
- Let the wood dry for one to two hours, or as stated in sanding sealer’s package instructions.
- After the surface has thoroughly dried, gently sand the wood using a fine-grit sandpaper to smoothen out brush marks and remove imperfections.
- Repeat steps 4 to 6 one more time. Ideally, do not use more than two coats of sanding sealer.
- Apply your chosen paint once the wood has been sanded smooth and completely dry.
Is using a sanding sealer before applying a stain recommended? Some experts advise against it, since a wood stain is intended to soak into wood pores, and application of a sanding sealer will render this process useless. As a result, the stain will merely stay on the surface and not be absorbed into the wood. If you have additional questions, feel free to ask an industry expert.
11 Techniques and Tips to Remember for Better Results
Now that you know the basics of applying sanding sealer, take note of other tips that’ll help you make the most out of this product:
Prep and clean the surface:
A clean, dust-free surface can help minimize imperfections, allow paint or other products to adhere to the surface easier, and produce better outcomes.Choose your sanding sealer wisely:
Before buying sanding sealer, be aware of factors that can affect product performance and the finished outcome. Consider wood species, desired finish or color, level of protection, and compatibility with other finishes or stains before buying this product.Apply sanding sealer in thin, even layers:
Doing so helps improve absorption, assist in providing a uniform finish, and lessens the risk for drips and runs.Use the right tools:
Make sure to use a high-quality brush, foam applicator, or sprayer so that the resulting surface is even and smooth. Unsure of what to use? Ask an industry expert for help.Take note of mixing ratios:
Sanding sealers are best mixed with paint thinners for a smooth, seamless finish. The recommended ratio is 1 part of sanding sealer to 1 part of paint thinner such as Island Chemicals’ Mayon Lacquer Thinner or Uno Lacquer Thinner.Don’t go overboard:
Resist the urge to overbrush or overwork the sanding sealer. These can cause uneven application or streaks.Be diligent with sanding using fine-grit sandpaper:
Sanding in between sealer applications will help remove imperfections on the surface and allow easier adhesion of additional products.Be patient and let the surface dry:
Always take note of drying times of your chosen sealer before sanding it down or applying other products. Working on a surface that has not thoroughly dried yet can compromise the outcome.In case of excessive sanding, repeat the process:
Should you end up sanding through the wood despite the addition of a sealer, clean the surface, apply another layer of sanding sealer, let it dry, and sand the wood again.Try using an oil-based sanding sealer:
Only do so if you notice raised wood grains caused by a water-based sanding sealer.Check the application and/or capability of your chosen sanding sealer beforehand:
If you’re a newbie and have some scrap wood, try applying a sealer on it. This can help you learn how to apply the product correctly, determine ideal drying time, inspect results before fully committing to a product, and check if the sealer can be compatible with other products.
Final Reminders Before Using Sanding Sealer to Your Advantage
When you’re ready to give your wooden surfaces the care they deserve, remember these safety guidelines:
- Wear gloves, face masks, and goggles when handling sanding sealers to avoid inhalation of fumes.
- Keep products away from heat and open flame, as these products are flammable.
- Use the sanding sealers in well-ventilated areas.
- Seal the containers once done.
- Keep sanding sealers away from children.
- If you feel unwell after using a sanding sealer, seek medical attention immediately.
- Dispose the material and its container in allocated hazardous or special waste collection points, not in drains.
Make sure wooden surfaces maintain their best with the help of sanding sealer. If this is your first time using this product, don’t worry. With Island Chemicals, you can get the job done effectively! For more tips and insights on home decor and ideal products you should include in your toolbox, head over to the Island Chemicals website for more information!
References:
https://www.housedigest.com/1273928/what-is-sanding-sealer-and-when-to-use-it/
https://www.thespruce.com/what-is-sanding-sealer-5195078
https://generalfinishes.com/faq/what-are-benefits-using-sanding-sealer-applying-topcoat