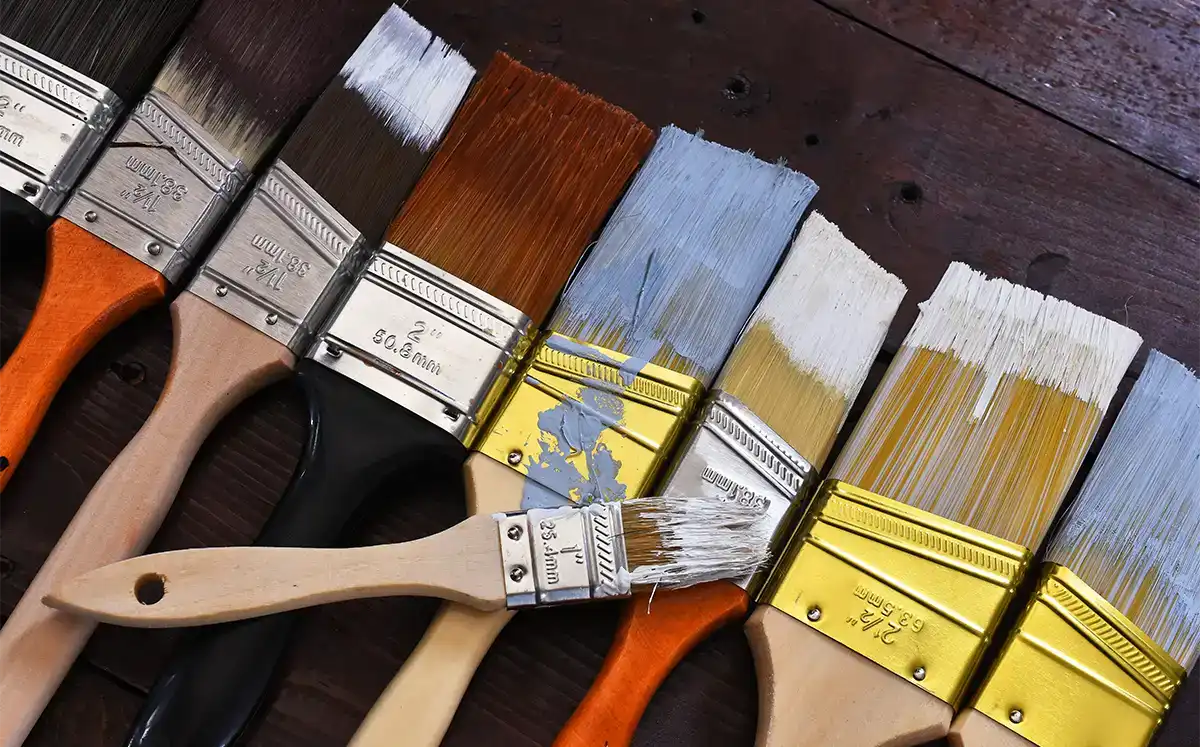
Are you tired of struggling with dry and dirty paintbrushes while working on your projects? Don’t worry, you’re not alone! Many people face this problem and find it frustrating. However, with some simple tips and tricks, you can easily deal with these dilemmas and get your paintbrushes back to their best condition.
Be guided through some tools and methods to revive your dry and dirty paintbrushes. Get them ready to use for your next project!
Brush Away the Mess: Essential Tools for Cleaning Paintbrushes
Before diving into the cleaning methods, take a quick look at the tools and products you’ll need to clean your paintbrushes.
Soap:
You’ll need a mild soap such as dish soap or hand soap to clean the brushes. Make sure the soap is gentle and doesn’t contain any harsh chemicals that can damage the bristles.Brush cleaner:
There are various brush cleaners available in the market that can help remove paint from brushes. These cleaners are designed for different types of paints and can be effective for removing tough buildup.Glass Jar or any container:
You’ll need a bucket or container to hold the water and cleaning solution. You may use any container but using one made of glass for cleaning paintbrushes is more advantageous because it is non-reactive, easy to clean or sterilize, and durable.Stiff-bristled brush or comb:
A stiff-bristled brush or comb can help remove dried paint from the bristles of the brush.Old toothbrush:
The stiff bristles of the toothbrush can help loosen and remove any stubborn paint that has dried onto the hairs of the paint brush. Simply dip the toothbrush in some solvent or warm soapy water, and gently scrub the bristles of the paintbrush in a circular motion.Paper towels or clean cloth:
Paper towels can be used to dry the brush after it has been cleaned. Gently pressing the bristles against a clean, dry paper towel to remove excess moisture, can help speed up the drying process. This helps keep the brush completely dry before storage.Paint solvents:
These products are designed to effectively remove paint from your brushes, and they come in a variety of forms such as mineral spirits, paint thinner, and turpentine. Explore different options and find one that works best for your brushes by clicking on this link.
Now that we’ve covered the tools and products, it’s time to move on to the cleaning steps.
Foolproof Steps for Sparkling Paintbrushes
The following steps will guide you through the process of restoring your dry and dirty paintbrushes to their former glory.
Saving Dried Bristles: Removing Excess Paint
When it comes to cleaning a paintbrush, removing excess paint beforehand can make a world of difference. Here is how to get dried paint out of brushes!
First, use a clean cloth or paper towel to wipe off as much excess paint as possible from the bristles. Then, grab a scraper or the edge of the paint can and scrape any remaining paint from the brush.
After that, give the brush a few taps against the inside edge of the paint can or a container to remove any remaining excess paint. Just be sure to be gentle and not scrape or tap too hard, as this can damage the bristles.Brushing Off Dirt: Cleaning Paintbrush Bristles
Keeping the bristles of your paintbrush free from dirt and debris is really important for achieving a flawless paint application and a super smooth painting base.
So, how do you clean dried paintbrushes with paint thinner? Start by soaking the bristles of your brush in a container filled with solvent like paint thinner or mineral spirits. After soaking, you can apply a gentle soap or brush cleaner to the bristles and work it in with your fingers. Use a brush comb or a stiff brush to remove any leftover paint from the bristles.
If you’re struggling to clean hard-to-reach areas of your brush, a toothbrush can be a fantastic tool to help you out. All you need to do is dampen the toothbrush. Add a bit of soap or brush cleaner to the bristles, and carefully scrub the brush’s bristles. This technique is especially useful for small or fine brushes that have delicate bristles.Refreshing Wash: Properly Rinsing Paintbrushes
By taking the time to rinse your paintbrushes properly, you’re not only protecting your brushes, but also ensuring that they’re ready to be used again whenever inspiration strikes.
After cleaning the bristles of your paint brush, rinse the brush under warm running water. Use your fingers to work out any remaining soap or cleaner. It’s crucial to rinse thoroughly, as any leftover soap or cleaner can cause damage to the bristles over time.
If the water isn’t running clear, simply repeat the process until it does. When the water finally runs clear, gently squeeze the bristles to remove excess water. Squeezing too hard can damage the hair your brushes.Bye-Bye Drips: Ways to Dry Paintbrushes
When it comes to cleaning your paintbrushes, the final steps are just as important as the rest. After rinsing out any remaining soap or cleaner, use your fingers to reshape the bristles into their original shape. Then, lay the brush flat on a clean towel to dry.
Avoid hanging the brush to dry, as this can cause the water to run down into the ferrule, which can damage the brush. Make sure to allow the brush to dry completely before using it again. Depending on the type of paint and the humidity of your environment, this can take several hours overnight.Store Paintbrushes Like a Pro!
Don’t forget to store your newly cleaned paintbrush properly to keep it in tip-top shape! You can store it flat or upright; just make sure to lay it with the bristles facing up if you store it flat to prevent them from getting bent.
To protect the bristles from dust and debris, cover them with plastic wrap or a brush guard. And don’t expose your brush to extreme temperatures nor store it with other brushes to prevent damage.
Take-Away: Get the Most Out of Your Paint Brushes
Taking the time to learn how to clean dried paintbrushes can help extend their lifespan. By doing so, you can ensure that your paint tools are always in optimal condition, ready to assist you in creating your next masterpiece. Remember, cleaning and storing your paintbrushes is easy – just follow the steps we’ve outlined above.
So next time you’re finished painting, take a few extra minutes to give your brushes the TLC they deserve. Your future self (and your brushes) will thank you!
One-Stop Shop for Paintbrush Cleaning Needs
If you’re in need of high-quality solvents, paints, and other chemical products, Island Chemical Paint’s website is definitely worth checking out. Their website offers a wide range of chemical products, from household cleaning supplies to industrial-grade chemicals. With a user-friendly interface and clear product descriptions, it’s easy to find what you’re looking for!
Not only that, Island Chemical’s customer service team is knowledgeable and always willing to help, should you have questions or inquiries. So, whether you’re a homeowner looking for effective cleaning solutions or a business owner in need of industrial-grade chemicals, Island Chemical has you covered.
Visit their website today and see for yourself!
References:
https://www.diygeeks.com/different-types-of-paint-thinners/
https://www.realsimple.com/home-organizing/home-improvement/painting/how-to-clean-paint-brushes
https://www.familyhandyman.com/list/paint-brush-cleaner/
https://www.familyhandyman.com/project/paint-brush-care-how-to-rescue-a-petrified-brush/
https://www.purdy.com/en/painting-resources/painting-faqs/paint-care-and-cleanup
https://www.thespruce.com/how-to-clean-paint-brushes-5214385


