Painting your space is definitely a breather if you have the right kind of tools. Topping these are rollers and paint brushes that make your painting job a breeze. Know that well-kept painting tools save you some bucks and effort for your next painting job. Hence, it’s important to keep these tools in good condition even after several uses. So how do you take care of these paint buddies? Basic: keep them clean using a paint thinner and store them properly after use.
Paint Thinner: What Is It For?
As its name suggests, paint thinner is used to “thin” or reduce the viscosity of an oil-based paint before it can be applied on any surface. This ensures a smoother, glossier finish on any substrate. Paint thinner is also used by some to prevent the paint from hardening especially when it’s left open or exposed for long. More importantly, thinners are used to clean your painting tools after a painting job, especially when you’ve just used an oil-based paint.
Cleaning Your Paint Brushes
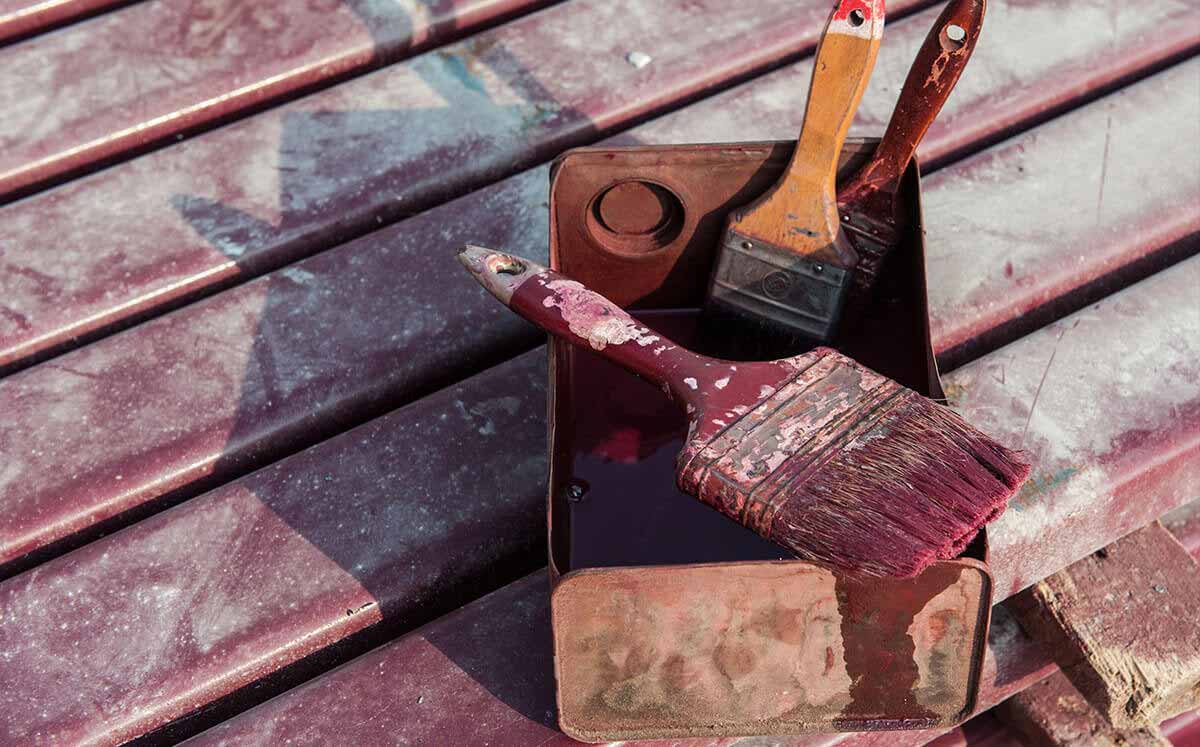
You may have scoured your favorite home improvement stores just so you can invest on high-quality paint brushes for a major painting project. Good move. But if these brushes aren’t properly cleaned right away, you may only be wasting your hard-earned money. Flexes of paint in your brushes and deformed bristles –- these can only can only ruin your painting process. Instead of producing great results, chances are, you’d only be redoing your work. Avoid this problem by knowing the basics of cleaning your paint brushes using a paint thinner. Here, we give you the lowdown on proper cleaning steps using a paint thinner to keep your paint brushes in good condition.
Remove excess paint on brush.
Don’t let your paint brush dry while dripping. Use the remaining paint on your paint brush so it won’t drip of excess paint. To do this, press the paint’s bristles inside the paint can’s walls. You don’t have to use the excess paint on a wall or roof you’re painting. Use the bristles’ leftovers on old newspapers. This will make it easier for you to further clean the bristles of your brush later on.
Know the kind of paint you just used.
Determining the type of paint you’ve used (water-based, oil-based) will tell you the kind of solvent that you need in order to dissolve the dried paint on your brush. For oil-based paint, put mineral spirits or turpentine (a paint thinner used to thin the consistency of paints) in a small pail. For latex or water-based paints, simply mix hot water and liquid dish soap in a bucket.
Dip the brush in the cleaning solution with thinner
Submerge the paint brush in the bucket containing the cleaning solution with thinner (for oil-based paint) or water and soap mixture (for water-based paint). Spin the bristles for about 10 seconds, squeezing and wiping them to make sure all dried paints are thoroughly washed off. Work with your fingers first then follow it up with an old comb that will “brush away” the remaining paints clinging to the brush. Be careful not to brush too hard so as not to damage the bristles. For protection, you may want to use chemical-resistant gloves when cleaning the brush with your hands.
Rinse off using warm water with soap.
After removing the paint with thinner, give your paint brush a good rinse using warm water and soap. This should wash away the solvent or paint thinner you’ve used and some remaining paint on the brush. As these are chemicals, do this in a bucket or a sink far from food and kitchen staples.
Dry your paint brush.
Shake off the water and let the paint brush dry. Make sure the bristles are completely dry by vigorously shaking the brush and pat-drying it with a clean rag. You can also use old newspapers that can absorb the excess water. Again, be very gentle on the bristles so as not to damage them.
Store your paint brush properly.
Once your paint brush has dried, store it in an area where it won’t be deformed. You can either hang your paint brushes or lay them on a flat surface. Don’t put heavy objects on top of your brushes to avoid damage. Avoid squeezing them in tight storages where bristles can get bent. It’s better if you have a toolbox dedicated to your painting tools. You can also wrap the cleaned brushes using a newspaper and tie it with a string in order to retain its shape.
Know that there are different types of thinner for different types of paints used. Lacquer thinner should be used for lacquer-based paints, paint thinner for oil-based paints, acrylic thinner for acrylic-based paints.
Maintaining your painting tools should be basic. Proper use, cleansing and storage are essential know-hows for any DIYer to keep their painting projects a breeze. For paint brush cleansing, check out Island Paints Mayon Paint Thinner, available through Lazada.
Sources:
https://www.bobvila.com/articles/2156-how-to-clean-paint-brushes/
https://www.familyhandyman.com/project/how-to-clean-paint-brushes/