Have you ever wondered how certain types of furniture still look good as new even if they have been used for a very long time? The secret may come in the form of a coat (or two) of varnish. In construction or home improvement projects, varnish is often used on wooden surfaces like floors and paneling, decor, and even paintings.
Varnish is known for its ability to help protect the surfaces mentioned from prolonged wear and tear, and maintain their aesthetically pleasing appearance even as time goes by.
There are actually many types of varnish available on the market, catering to customers’ many and specific needs. Split varnish, polyurethane varnish, and oil varnish can all be utilized for upcoming projects.
However, if you are looking for that one particular varnish that can be used for materials commonly found in Filipino homes, why not go for plastic varnish? Learn more about its advantages for your next project. Plus, find out how you can apply plastic varnish just like a pro!
What Is Plastic Varnish?
A plastic varnish like Island Chemicals’ GI Plastic Varnish contains a blend of natural-grade resins and solvents that aim to provide good adhesion and fast-drying abilities.
Once the substance is applied to the surface and left to dry, the solvents evaporate. The remaining ingredients on the surface then oxidize to create that transparent and shiny layer people see on their furniture.
Why Choose Island Chemicals’ Plastic Varnish?
What makes Island Chemicals’ GI Plastic Varnish stand out is its potential to help deliver a high-quality finish for your furniture that’ll impress people. One coat of this plastic varnish can dry in as fast as one (1) to two (2) hours. Even more, you can definitely apply more coats if desired to achieve the finish you want.
Island Chemicals’ GI Plastic Varnish dries down to a glossy finish that’ll help protect and preserve the quality of wooden furniture, handicrafts, and surfaces. This plastic varnish comes in multiple colors to choose from: Brown, Maple, Walnut, Natural, Yellow, Mahogany, Oak, and Red.
10 Plastic Varnish Application Hacks and Tips to Remember
Aside from carefully choosing the plastic varnish you will use for your next project, it is vital that you know how to effectively utilize this product too. This way, you will be able to carry out the project smoothly and achieve desirable results.
If this is your first time using any kind of plastic varnish, don’t hesitate to ask an industry professional for help. They can help you determine whether plastic varnish is ideal for the surface you will be working on and teach you how to use it properly.
So what exactly is the best way to apply plastic varnish? While there are no right or wrong answers to this question, there are some ways you can effectively and efficiently use the product. Take note of these hacks that’ll help you get the job done:
Clean surface/s prior to application. Make sure the surfaces you will be working on are free of dirt, dust, and other types of debris. If needed, wipe a damp cloth over the surface you will be working on and let it dry before applying the product.
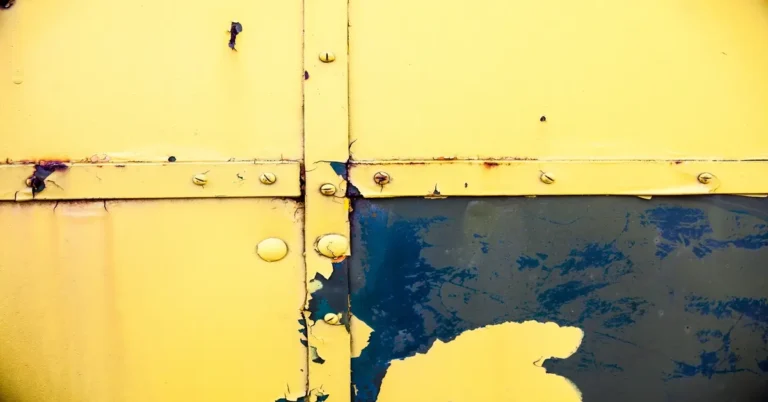
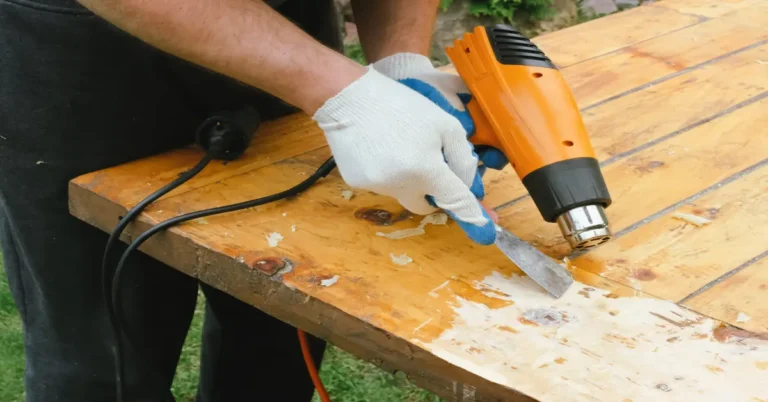
Use paint remover or another type of varnish if needed. This applies more to projects involving a surface that has been previously worked on. Use a paint or solution remover to get rid of previous substances on the surface. Sand the surface to smooth it out and wipe the debris with a damp cloth.
Make safety a priority. When working with plastic varnish, wear personal protective equipment like gloves and goggles. The substance can be toxic, especially if inhaled. Make sure to keep the product away from heat and open flame as well to prevent fires and/or other accidents.
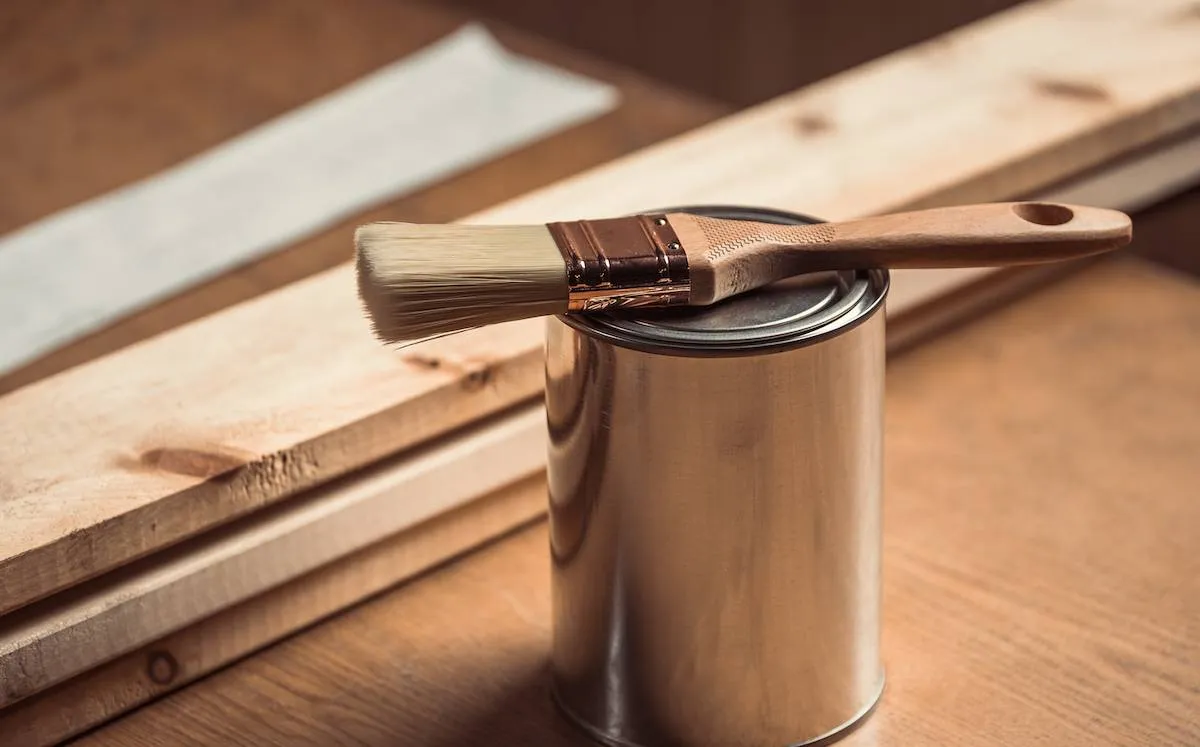
Choose the right brush. According to industry experts, the ideal type of brush to use for applying varnish would depend on the substances indicated in the product. Natural bristle brushes are recommended for oil-based products. On the other hand, acrylic- or water-based varnishes will work better with synthetic or nylon brushes.
However, if you do not have access to any of these brushes but have roller brushes or rags, you can use these. Lastly, it is not recommended to use square-edged brushes when applying varnish.
Prepare your brushes for “battle.” This step may help prime your brushes for the material they will be used for and allow for easier clean-up once done. Some industry experts recommend submerging the brushes in water or mineral spirits (if oil-based products will be used) prior to varnish application. Once done, shake off the excess product from the brush and get to work.
Use your brush properly. Proper handling of a brush can help prevent issues such as brush marks, and “runs” and “dips” that can ruin the appearance of a surface.
Refrain from “overloading” the brush. Simply dip the tip of the brush into the product, especially if you are working on the edges of a surface. Do not drag the brush’s bristles on the edge of the container to reduce the risk of bubbles.
Lastly, avoid brushing the product inward toward a corner or edge too. This may cause the varnish to drip and run, and ruin the surface.
Stir, not shake. When preparing the varnish for application, avoid shaking the can. This can form bubbles that will make the finished surface look less than desirable.
Tidy up after varnish application. Industry experts suggest that you “tip off” wet varnish prior to the product drying completely. This helps “spread out” runs or product buildup. After applying one coat of varnish, take an unused brush, hold it at a steep angle, and lightly drag the tip of the brush over the surface.
If there are imperfections, repeat this step as needed. Avoid dragging the brush tips against edges or corners. You can stop this step once the surface seems “resistant” to the product and there are no more brush marks.
Avoid exposing varnished furniture to direct sunlight. Island Chemicals’ GI Plastic Varnish is ideal for interior exposure only. Products or surfaces that have traces of plastic varnish should be kept indoors to protect their integrity and quality.
Store and dispose of products carefully. Since plastic varnish is flammable and toxic, tightly seal its container after use. See to it that the plastic varnish is kept in an area that will not exceed 35 degrees Celsius and is far away from children.
If you are discarding the product, separate it from regular household garbage. Dispose it according to government regulations and ensure that it does not reach the sewage system.
For more information about the benefits and proper usage of plastic varnish, head over to the Island Chemicals website. Feel free to browse through a selection of articles and guides on how you can preserve the appearance of your furniture and prevent unwanted issues related to it.
References:
https://www.britannica.com/technology/varnish
https://www.homenish.com/types-of-varnish/
https://www.thisoldhouse.com/21569543/what-is-varnish
https://peekbrotherspainting.com/how-to-varnish-wood-for-a-really-good-finish/
https://www.wood-finishes-direct.com/blog/how-to-varnish-wood-so-it-looks-really-good/ https://www.woodcraft.com/blog_entries/brushing-varnish-tips-and-techniques-for-a-flawless-finish


